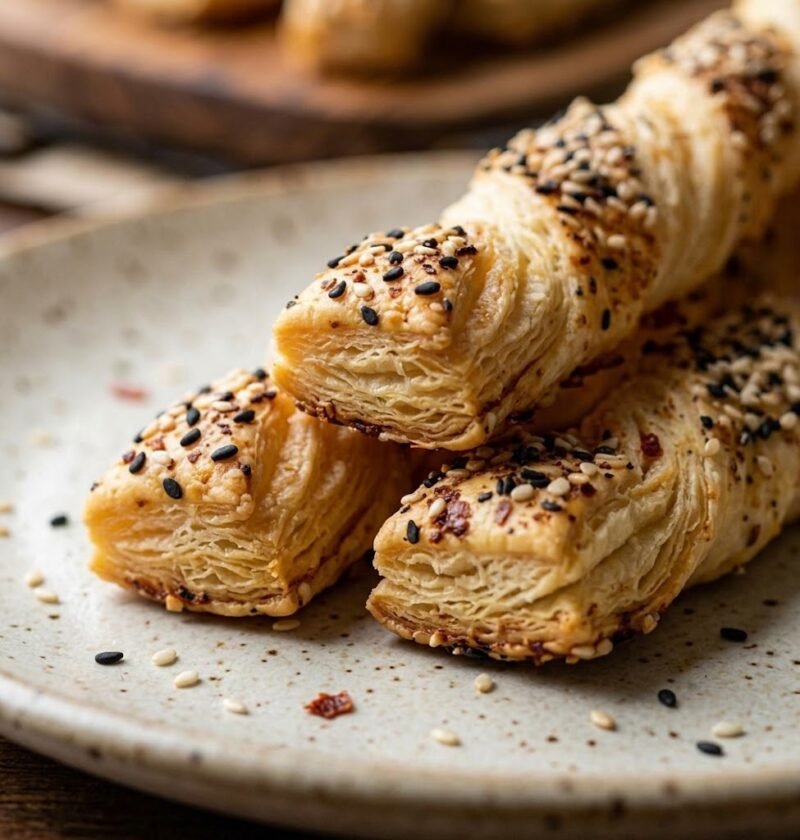
These Mary Berry cheese straws are golden, crisp, and packed with sharp cheese flavor in every bite. Made with a simple shortcrust-style pastry enriched with butter and mature cheddar, they come together quickly and bake in under 15 minutes. The texture is beautifully flaky and light with a satisfying snap, making them ideal for parties, afternoon nibbles, or pairing with soups and salads. This is a beginner-friendly recipe that takes about 30 minutes from start to finish.
What Are Mary Berry Cheese Straws and How Do They Taste?
Mary Berry cheese straws are a classic British savoury bake that have been a staple at parties, picnics, and afternoon tea tables for generations. These slender, golden pastry strips are made from a simple cheese-enriched dough that bakes into something wonderfully crisp and crumbly.
The flavour is rich and savoury with a bold mature cheddar punch that hits you straight away. A gentle warmth from the mustard powder and cayenne pepper lingers in the background, giving each straw a subtle kick without being overpowering. The butter adds a beautiful richness and helps create that signature short, flaky texture that snaps cleanly when you bite into it.
What makes this Mary Berry cheese straws recipe so special is the balance between simplicity and flavour. With just a handful of storecupboard ingredients and minimal effort, you end up with an elegant, moreish snack that looks impressive on any table. They are lighter and more refined than cheese biscuits, yet sturdy enough to hold their shape for dipping. Whether served alongside drinks, tucked into a lunchbox, or offered as a starter with soup, these cheese straws always disappear fast.
Ingredients
For the Cheese Straw Dough
- 175g plain flour
- ¼ tsp salt
- ½ tsp mustard powder
- Pinch of cayenne pepper
- 85g cold unsalted butter, cubed
- 100g mature cheddar cheese, finely grated
- 1 large egg yolk
- 1–2 tbsp cold water
Optional Finishing Touches
- 1 tbsp finely grated Parmesan cheese (for sprinkling before baking)
- Sesame seeds or poppy seeds (for topping)
- Smoked paprika (for a smoky variation)
Kitchen Utensils
- Large mixing bowl
- Sieve
- Rolling pin
- Sharp knife or pizza cutter
- Two baking trays
- Baking parchment
- Wire cooling rack
- Fine grater
Preparation and Cooking Time
- Prep Time: 15 minutes
- Cook Time: 12 minutes
- Total Time: 30 minutes
- Servings: 24 cheese straws
How to Make Mary Berry Cheese Straws
- Prepare the oven: Preheat the oven to 200°C or 180°C fan. Line two large baking trays with baking parchment and set them aside. Getting the oven fully hot before baking is essential for achieving crisp, golden cheese straws.
- Sift the dry ingredients: Sift the plain flour, salt, mustard powder, and cayenne pepper into a large mixing bowl. Sifting removes any lumps and ensures the spices are evenly distributed throughout the flour, giving every cheese straw a consistent flavour.
- Rub in the butter: Add the cold cubed butter to the flour mixture. Using your fingertips, rub the butter into the flour until the mixture looks like fine breadcrumbs. Work quickly to keep the butter cold, which is what creates that lovely short, flaky pastry texture. If your hands run warm, rinse them under cold water first.
- Add the cheese: Stir in the finely grated mature cheddar cheese and toss it through the crumb mixture until evenly distributed. Using finely grated cheese rather than coarsely grated ensures it blends seamlessly into the dough without leaving large pockets.
- Bring the dough together: Add the egg yolk and one tablespoon of cold water to the mixture. Use a table knife to cut and stir the liquid through until the dough starts clumping together. Add the second tablespoon of water only if the mixture feels too dry. You want a firm dough that holds its shape, not a wet or sticky one.
- Roll out the dough: Turn the dough out onto a lightly floured work surface. Knead it very briefly, just three or four gentle presses, to bring it together smoothly. Roll the dough out to roughly 5mm thickness, keeping it as even as possible. An even thickness means all your cheese straws bake at the same rate.
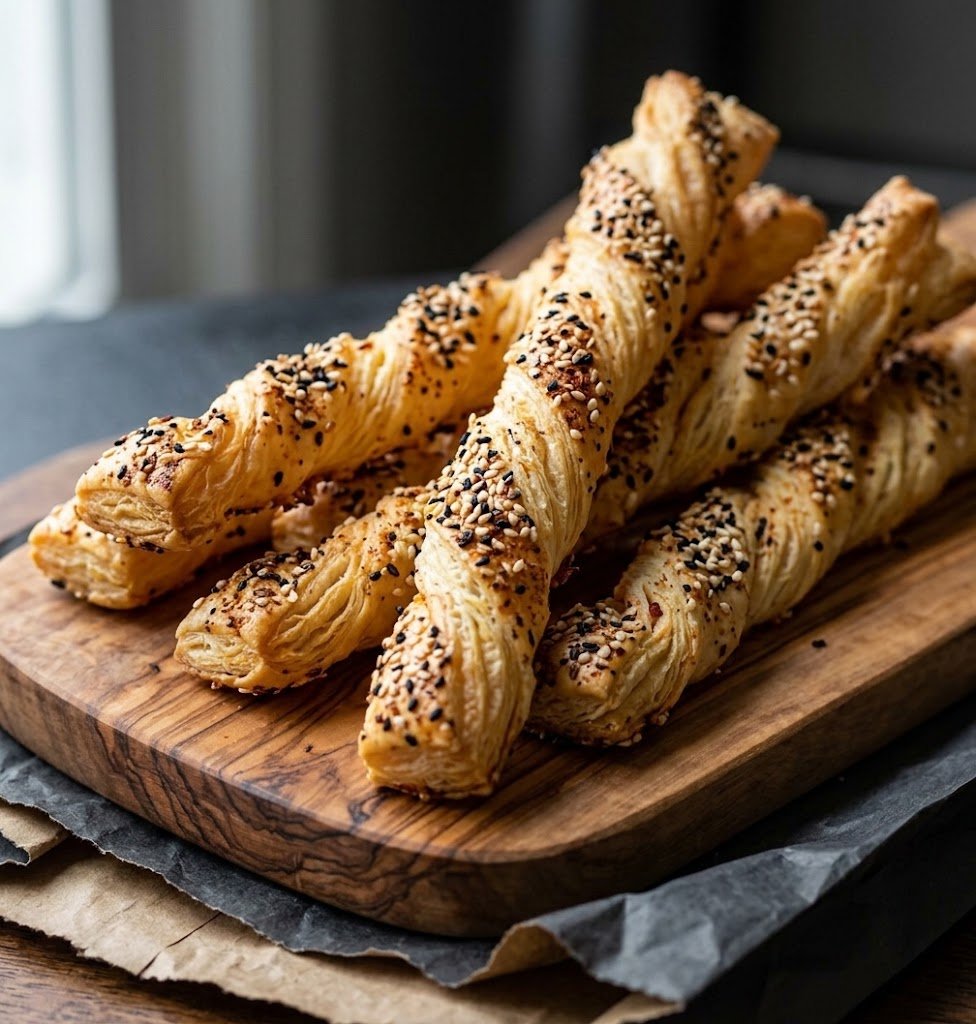
- Cut and shape the straws: Using a sharp knife or pizza cutter, cut the dough into neat strips roughly 1cm wide and 10cm long. For a classic look, gently twist each strip once or twice before placing it on the prepared baking tray. Space them about 2cm apart as they will spread slightly during baking.
- Bake until golden: Place the trays in the preheated oven and bake for 10 to 12 minutes until the cheese straws are golden brown and firm to the touch. Keep a close eye on them during the last few minutes because they can go from perfectly golden to overbaked quite quickly.
- Cool and serve: Remove the trays from the oven and allow the cheese straws to cool on the trays for about 5 minutes. They will firm up further as they cool. Transfer them carefully to a wire rack and let them cool completely before serving or storing. They are at their absolute best served slightly warm or at room temperature.
Tips for Perfect Mary Berry Cheese Straws
Why are my cheese straws soft instead of crisp?
Soft cheese straws usually come down to one of two things: the butter was too warm when you made the dough, or the straws were underbaked. Always start with cold butter straight from the fridge and handle the dough as little as possible to keep everything cool. If they look pale when the timer goes off, give them another minute or two until they are properly golden. They will also crisp up more as they cool, so let them rest on the tray before judging the texture.
What type of cheese works best for cheese straws?
Mature or extra mature cheddar gives the strongest, most satisfying cheese flavour. Mild cheddar will work but the straws will taste quite subtle. You can also try a combination of cheddar and Parmesan for extra depth, or swap in Gruyère for a nuttier, more continental flavour. Whatever cheese you choose, grate it as finely as possible so it melts and integrates into the pastry evenly.
Can I make the dough ahead of time?
Absolutely. The dough wraps well in cling film and keeps in the fridge for up to two days. You can also freeze the shaped, unbaked straws on a tray and then transfer them to a freezer bag once solid. Bake them straight from frozen, just add two to three extra minutes to the baking time. This makes the recipe brilliant for getting ahead before a party or gathering.
How do I stop the straws from spreading too much?
Make sure your dough is firm and well chilled before cutting. If the kitchen is warm and the dough feels soft after rolling, pop it back in the fridge for ten minutes before cutting and shaping. Starting with cold butter and cold water also helps keep the fat from softening too much during preparation. A properly firm dough holds its shape beautifully in the oven.
Can I add herbs or other flavourings?
Yes, and this is a wonderful way to put your own stamp on the recipe. Finely chopped fresh rosemary, thyme leaves, or chives all work beautifully mixed into the dough. A teaspoon of smoked paprika adds a lovely smoky depth. You can also sprinkle the tops with sesame seeds, poppy seeds, or flaky sea salt before baking for added texture and visual appeal.
Serving Suggestions
- Serve alongside a warm bowl of tomato soup or butternut squash soup for a comforting lunch
- Arrange on a platter with hummus, chutney, or a creamy cheese dip for a party nibble
- Pack into lunchboxes with carrot sticks, cucumber, and a small pot of cream cheese
- Stand upright in a glass or jar on a cheeseboard for a striking presentation
- Offer as a pre-dinner snack with a glass of wine, prosecco, or sparkling water
- Serve warm from the oven as part of an afternoon tea spread alongside sandwiches and scones
Storage
Room Temperature
Store fully cooled cheese straws in an airtight container at room temperature for up to 5 days. Place a sheet of kitchen paper in the bottom of the container to absorb any moisture and keep them crisp. If they soften slightly over time, you can refresh them in a hot oven at 180°C for 3 to 4 minutes to restore their crunch.
Refrigerator
Cheese straws are best stored at room temperature rather than in the fridge, as refrigeration can make them lose their crispness. However, if you have made the dough in advance, it keeps well wrapped in cling film in the fridge for up to 2 days. Bring it to a cool room temperature for about 10 minutes before rolling out.
Freezing
You can freeze both the unbaked dough and the shaped unbaked straws. Wrap the dough tightly in cling film and place it in a freezer bag for up to 3 months. For shaped straws, freeze them on a lined tray until solid, then transfer to a bag. Bake from frozen at 200°C for 14 to 16 minutes until golden. Fully baked cheese straws can also be frozen in an airtight container for up to 2 months. Thaw at room temperature and refresh briefly in a hot oven before serving.
Nutrition Information
The following values are approximate per cheese straw (based on 24 servings):
- Calories: 85 kcal
- Carbohydrates: 6g
- Protein: 3g
- Fat: 6g
- Saturated Fat: 3.5g
- Sodium: 95mg
Nutritional values are estimates only and may vary depending on the exact ingredients and brands used. They should not be taken as professional dietary advice.
Frequently Asked Questions
Can I use puff pastry instead of making the dough from scratch?
Yes, you can use ready-made puff pastry as a shortcut. Roll it out, sprinkle generously with grated cheddar, mustard powder, and cayenne pepper, fold it over, roll again, and cut into strips. Bake at 200°C for 10 to 12 minutes until golden and puffed. The texture will be lighter and more layered than shortcrust cheese straws, but they are equally delicious.
Can I make cheese straws gluten free?
Yes, replace the plain flour with a good quality gluten free plain flour blend that includes xanthan gum. The dough may feel slightly more crumbly, so you might need an extra teaspoon of cold water to bring it together. Handle gently and the results will still be crisp and full of cheese flavour.
Why do my cheese straws taste bland?
The most common reason is using mild cheddar or not enough cheese. Always use mature or extra mature cheddar for a bold flavour. Make sure you include the mustard powder and cayenne pepper as these small additions lift the overall taste significantly. A pinch of salt in the dough also helps bring all the flavours together.
Are Mary Berry cheese straws suitable for vegetarians?
Yes, this recipe is vegetarian-friendly as long as you use a vegetarian cheddar cheese made without animal rennet. Most supermarket own-brand cheddars are suitable, but always check the label if you are unsure. The rest of the ingredients are naturally vegetarian.
How many cheese straws does this recipe make?
This recipe makes approximately 24 cheese straws, depending on how wide and long you cut them. For thinner, more delicate straws, you may get up to 30. For chunkier straws closer to 1.5cm wide, expect around 18 to 20. The baking time remains the same regardless of width, but keep an eye on thinner straws as they may bake a minute or two faster.
“`
Mary Berry Cheese Straws Recipe
Course: SnackCuisine: BritishDifficulty: Easy24
straws15
minutes12
minutes30
minutes85
kcal27
minutesGolden, flaky, and irresistibly cheesy cheese straws made with mature cheddar, butter, and a touch of mustard. A classic British nibble perfect for parties, picnics, and snacking.
Ingredients
175g plain flour
¼ tsp salt
½ tsp mustard powder
Pinch of cayenne pepper
85g cold unsalted butter, cubed
100g mature cheddar cheese, finely grated
1 large egg yolk
1–2 tbsp cold water
Directions
- Preheat the oven to 200°C (180°C fan). Line two baking trays with baking parchment.
- Sift the plain flour, salt, mustard powder, and cayenne pepper into a large mixing bowl.
- Add the cold cubed butter and rub it into the flour using your fingertips until the mixture resembles fine breadcrumbs.
- Stir in the finely grated mature cheddar cheese and mix until evenly distributed.
- Add the egg yolk and 1 tablespoon of cold water. Mix with a knife until the dough starts to come together, adding a little more water if needed.
- Turn the dough out onto a lightly floured surface and knead very briefly until smooth. Roll out to about 5mm thickness.
- Cut into strips roughly 1cm wide and 10cm long. Twist each strip gently if desired and place on the prepared baking trays.
- Bake for 10–12 minutes until golden and crisp. Watch them closely as they can turn quickly.
- Allow to cool on the trays for 5 minutes, then transfer to a wire rack to cool completely.
Notes
- Use the coldest butter possible for the flakiest texture.
- Finely grate the cheese so it distributes evenly through the dough.
- Do not overwork the dough or the straws will be tough rather than tender.